How to keep your bitcoin safe from hackers with Trezor Safe 3
There’s a saying in crypto: Not your keys, not your coins.
While this is true, it’s also worth considering what “your” means, exactly. If, for example, you keep your cryptocurrency private key in an unprotected text file residing on your hard drive, your coins may be “yours,” but they are fairly easy for hackers to steal.
With a hardware wallet, it’s another matter.
Why use a hardware wallet?
A hardware wallet is a device designed specifically to keep your cryptocurrency safe. Typically, it’s a small gadget with no other use case than to store your BTC, ETH, or whichever digital asset you fancy.
Hardware wallets almost always have a “secure element,” which includes a chip designed to guard your data from malicious apps and attacks. They also typically have a passphrase that lets you access the data stored on the wallet.
Yes, you can choose to gain access to your bitcoin via an app on your computer or phone. But these devices do a million other things besides securing crypto. You probably have dozens of apps installed, and as well as access to a variety of websites and services, thereby increasing the chance of something malicious sneaking in.
Conversely, crypto hardware wallets only have one app for the following purposes: send, receive, and secure your crypto. That’s it. Nothing else goes in or out.
Testing the Trezor Safe 3
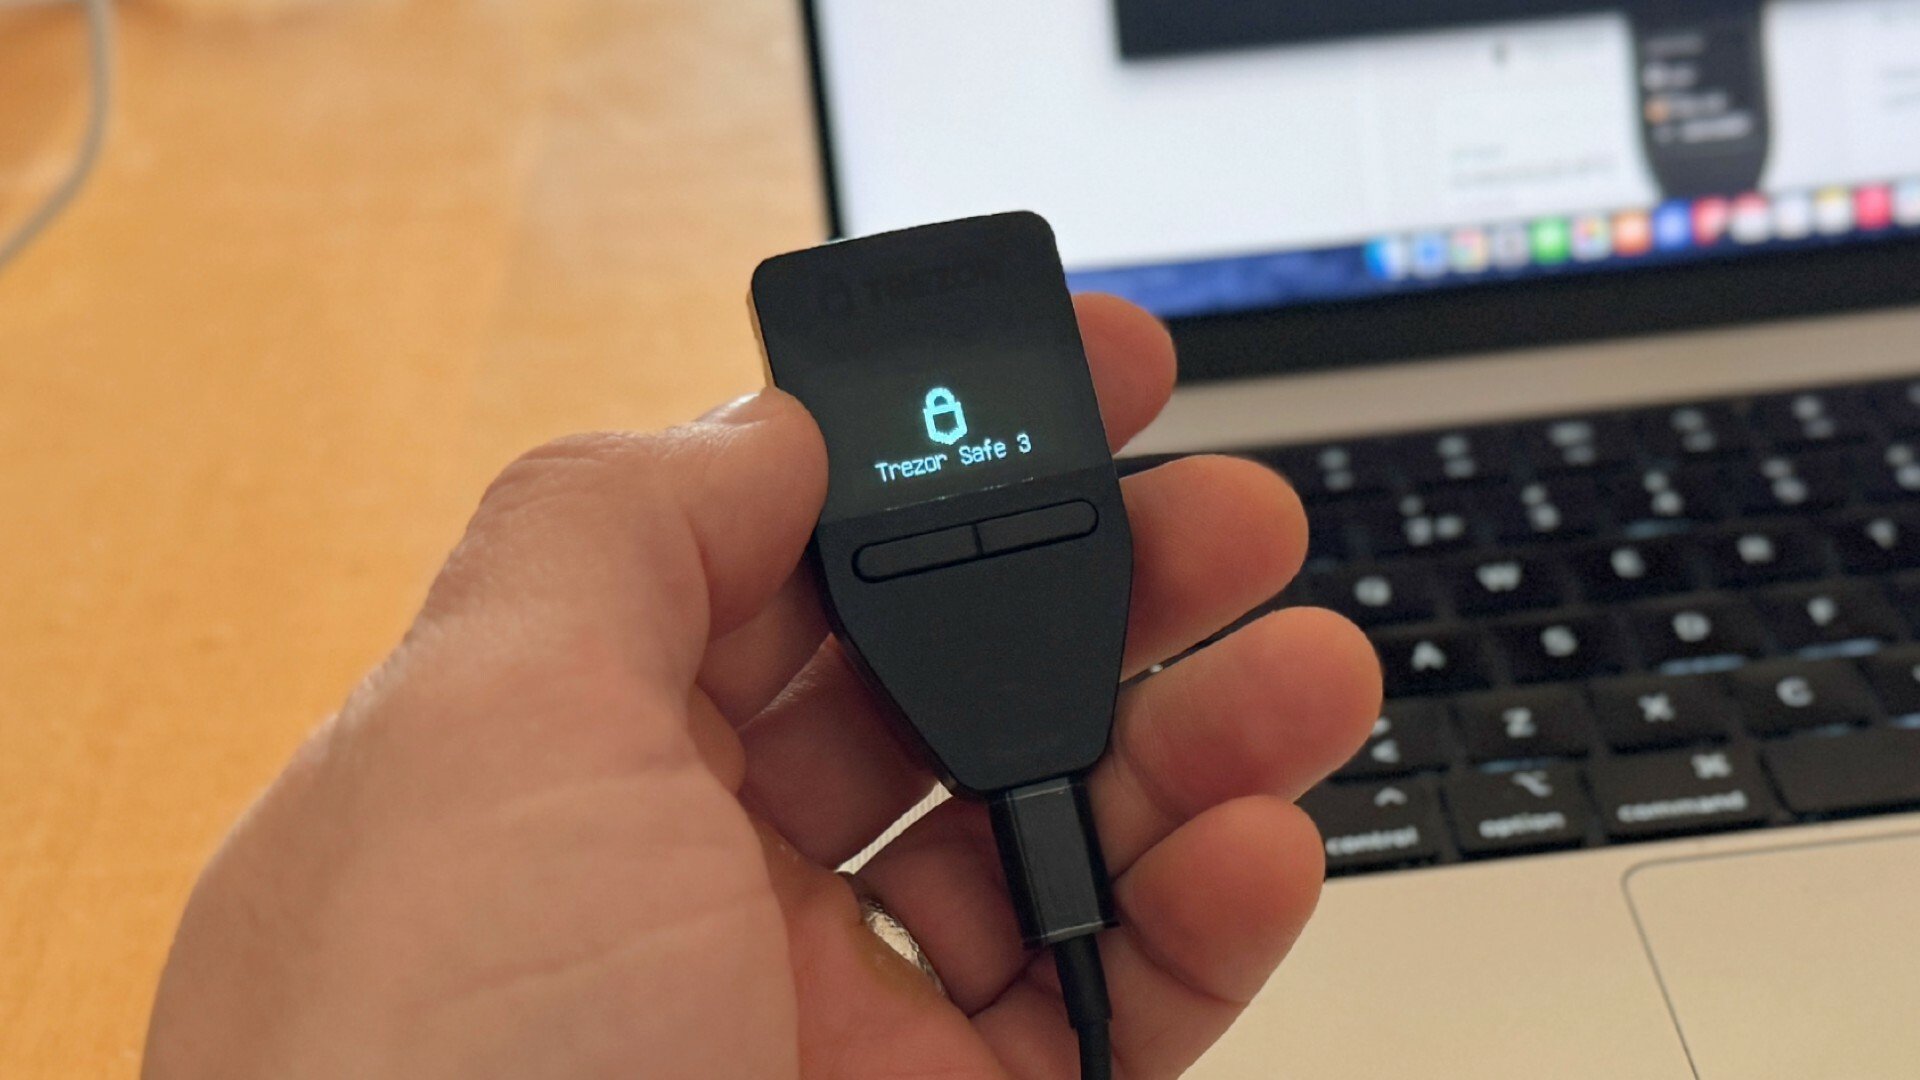
For the purpose of this article, I’ve used the newly launched Trezor Safe 3 (Bitcoin Edition), a $ 79 wallet from Trezor. This particular hardware wallet is interesting because it’s even more straightforward to understand and use than other devices; it’s specifically designed to secure your bitcoin. No fuss, no complications: You guard your bitcoin with Trezor Safe 3, keep it somewhere safe (no pun intended), and never touch it until you need to access it.
The Trezor Safe has two buttons and a tiny, 0.96-inch, monochromatic OLED display. It’s connected to your computer via a USB-C port. It’s a simple device with a singular purpose — and many users will appreciate that.
Setting up Trezor Safe 3
Setting it up is easy. Download and install Trezor’s software, crack open the packaging on the device itself, and connect it to your computer via a USB-C cable. The software will recognize the device, updated its firmware, and launch a tutorial on how to use it.
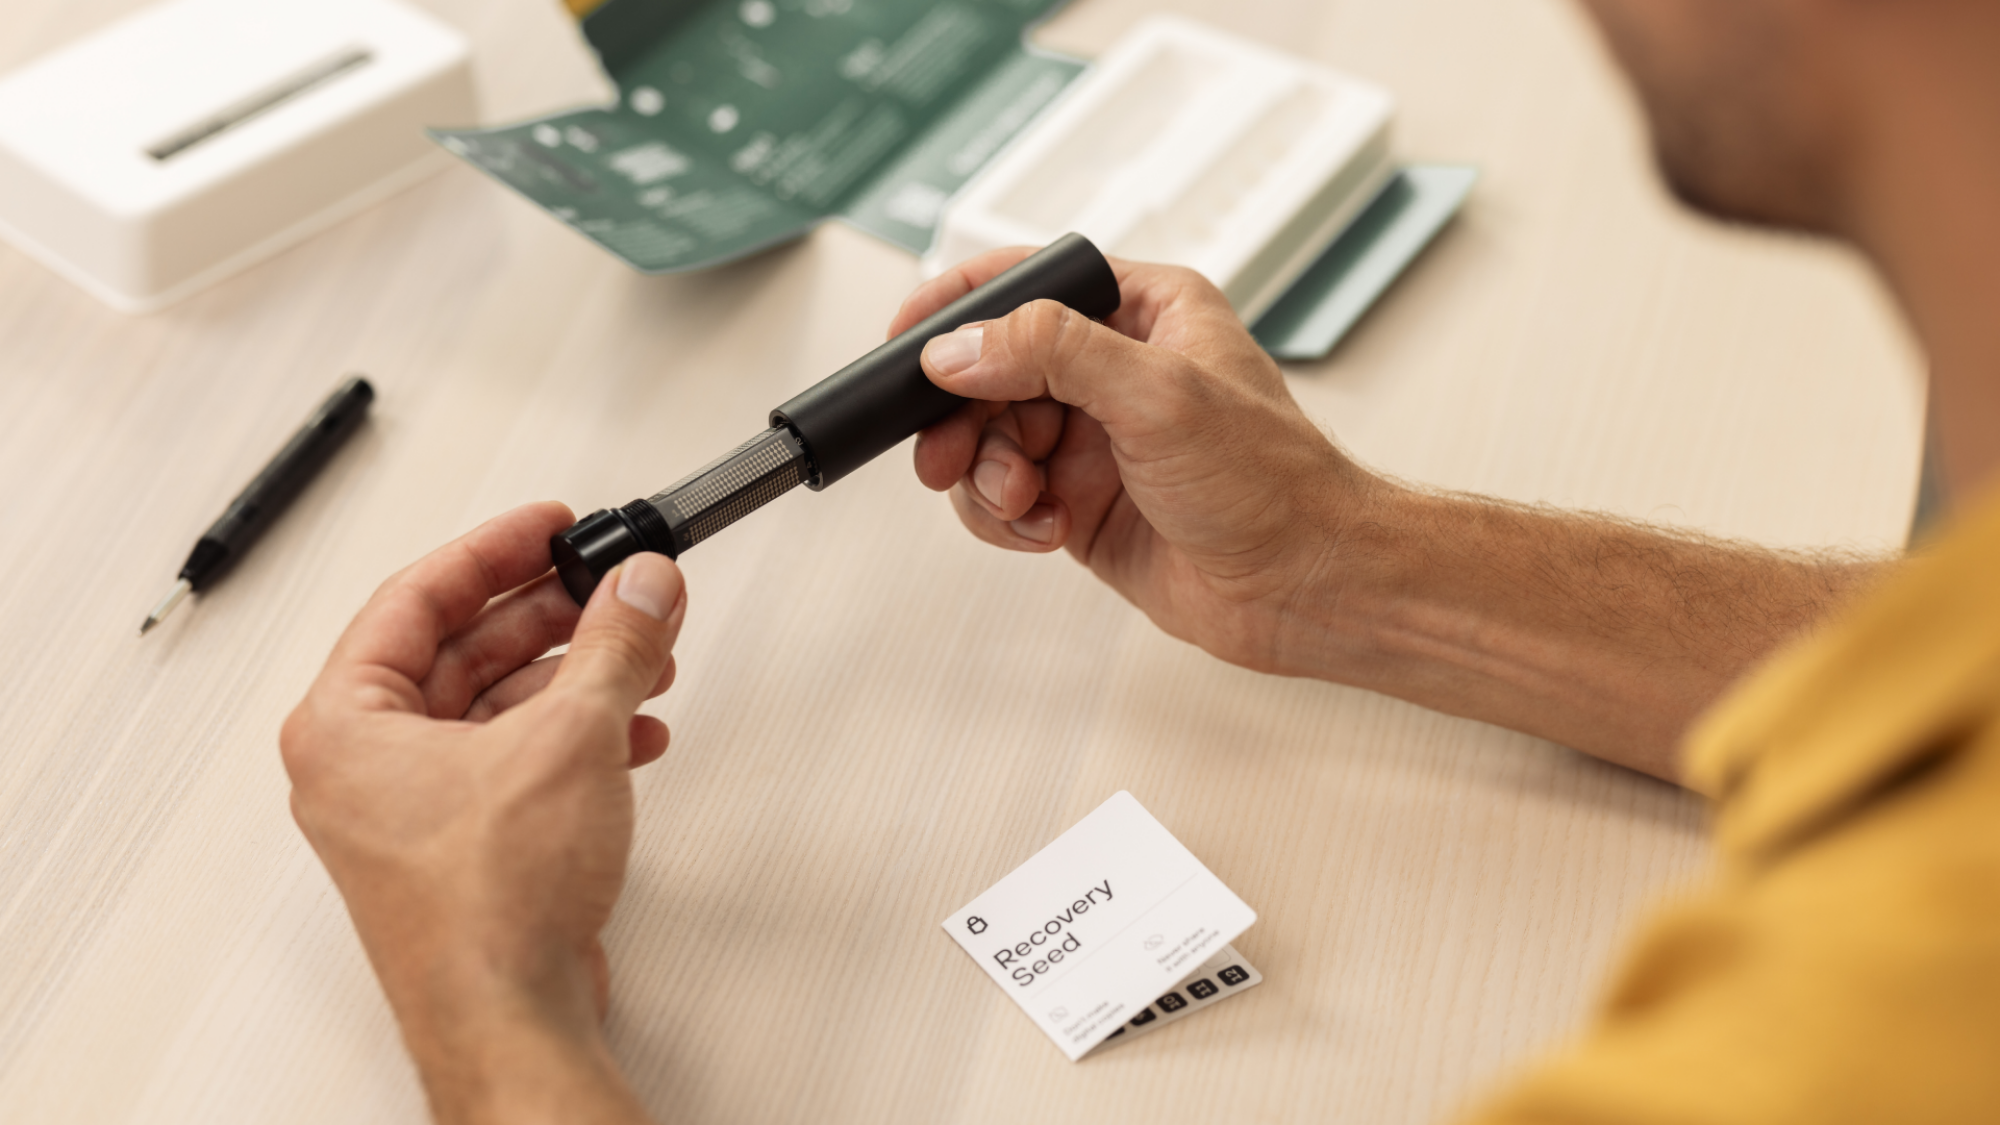
After initialising the device, you’ll be asked to create a recovery seed. This is basically your crypto key, expressed as a string of English words (typically 12 words). Write these words down on paper (Trezor supplies two handy pieces of paper for that purpose). Don’t show them to anyone; store them somewhere very safe.
An optional step you can do is to create a PIN for your Trezor. You should definitely do that. If you don’t, anyone with physical access to the device can breach your crypto. Choose a PIN that you won’t forget, and preferably something that only you know.
Moving your bitcoin to the hardware wallet
Say you’ve purchased bitcoin on a crypto exchange, and now, you want to move them somewhere safer (That’s a good idea, by the way. In the world of cryptocurrencies, exchanges have been known to get hacked or go bankrupt.)
Once you’ve set up your Trezor Safe 3, connect it to your computer and open the Trezor app. Go to “Accounts – Receive” and confirm that the address on the computer screen matches the one on the device itself. Don’t neglect this part. If your computer or Trezor software gets compromised, a malicious software may try to scam you into sending the coins to the wrong address.
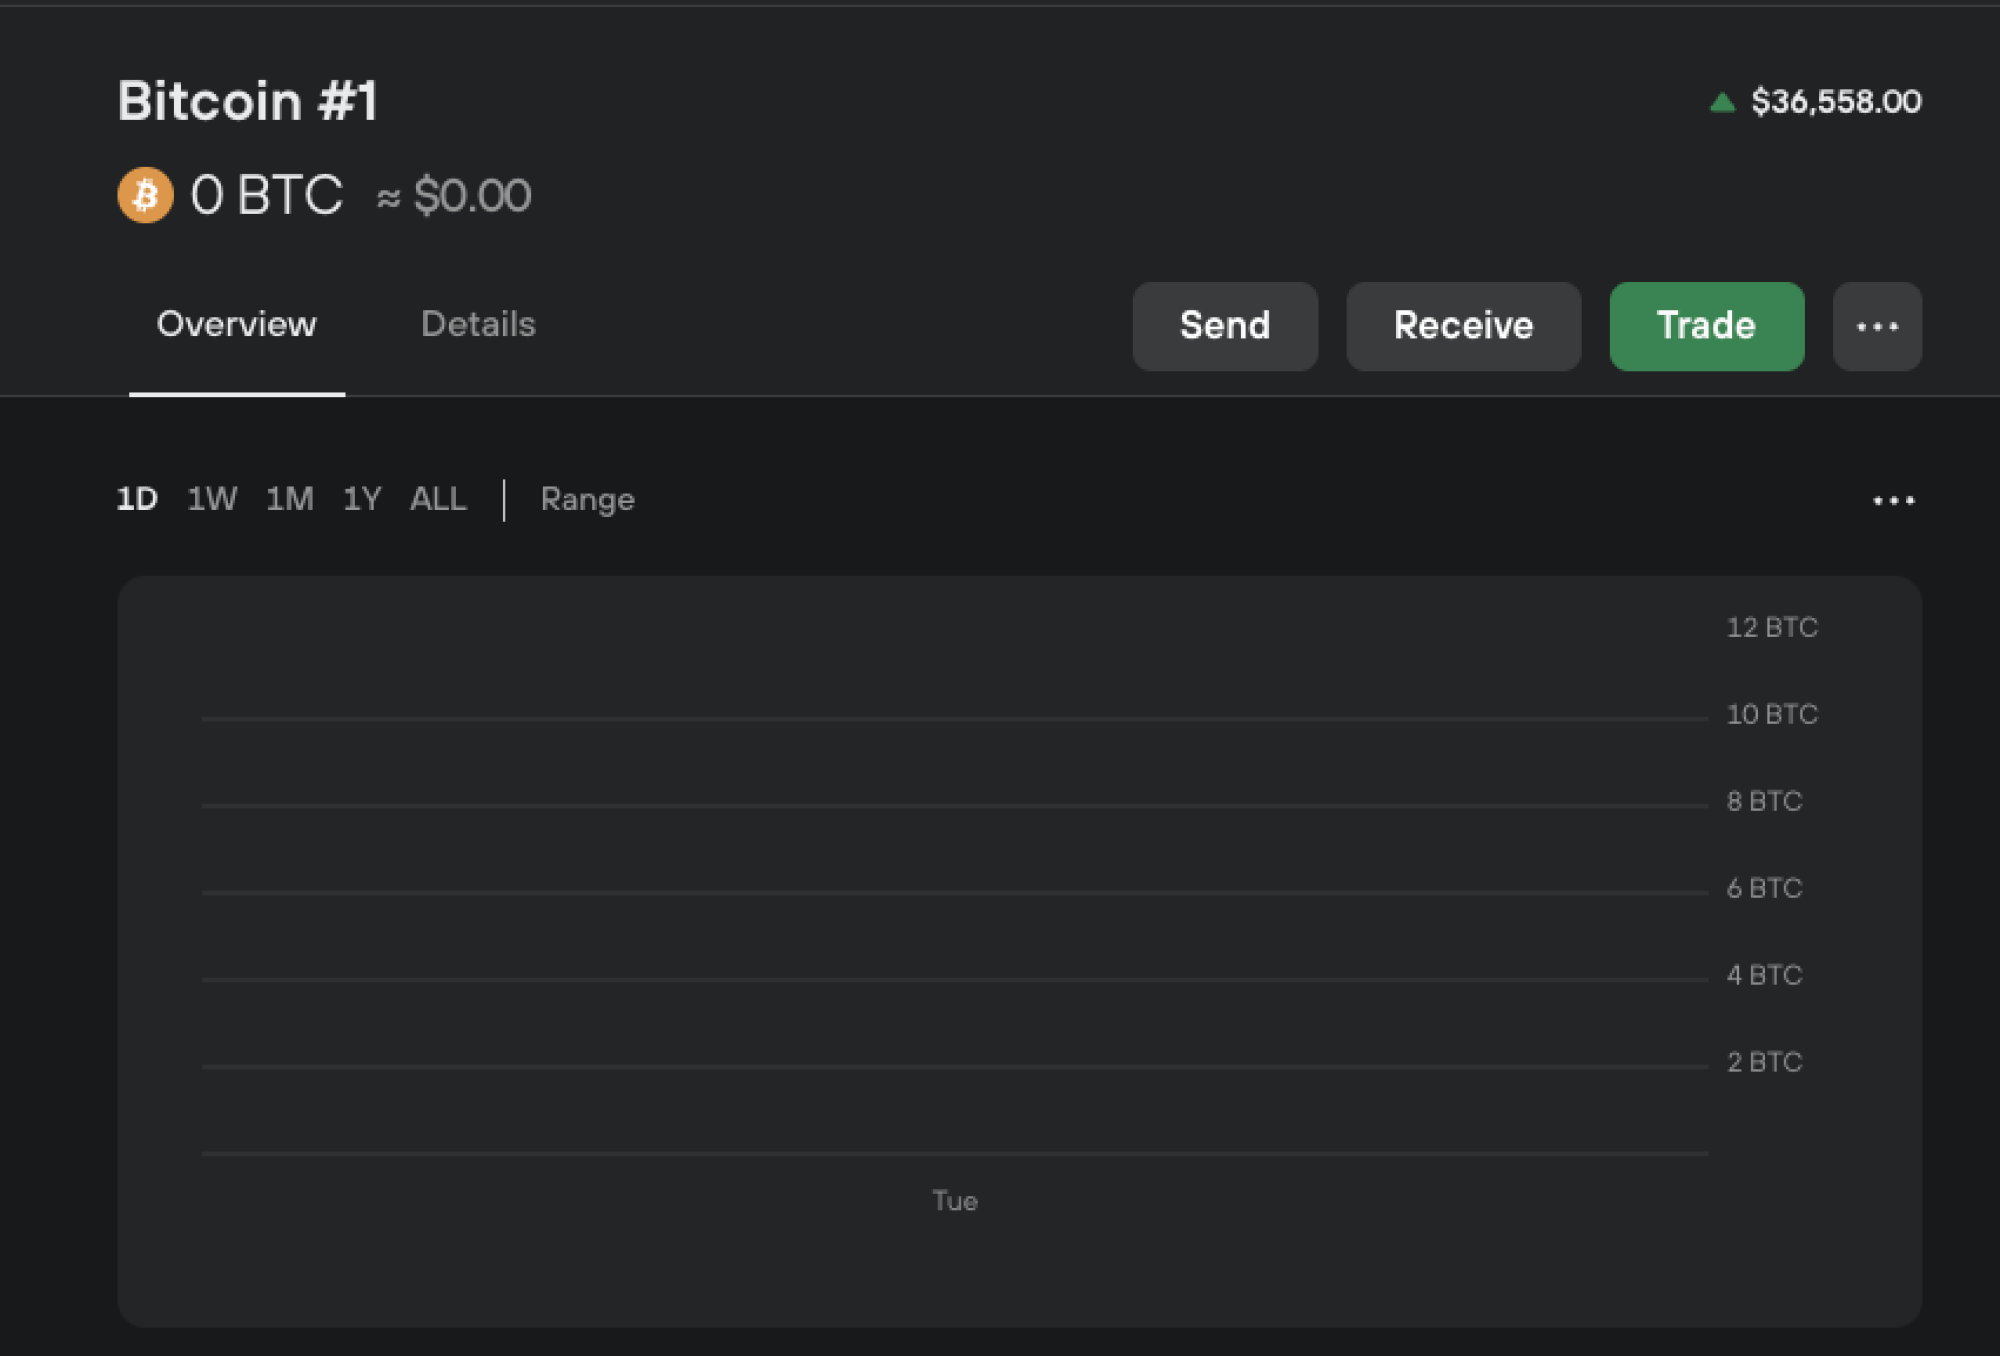
Then, depending on where you’re sending the bitcoins from, you can either scan the generated QR code with your phone, or copy and paste the address when the exchange you’re sending from asks you to (check that the address is accurate one more time at this point).
After you’ve sent your bitcoin to the hardware wallet, it will typically take a few minutes for them to show up in your Trezor software. Once they’re there, you’re done. You can disconnect your wallet and keep it somewhere safe.
Sending coins is the opposite of this process. Connect your Trezor, run the Trezor software, hit “Accounts – Send”, pick the amount you want to send, make sure you have the right receiving address, review all the data one more time, and click “Send.”
Things you should never do
While hardware wallets are among the most secure methods for securing crypto, they only work if you keep certain precautions. Here’s a list of things you should never do:
1. Keep your private key in an unsecure manner or share it with anyone.
Your private key, which is a long string of characters, or the recovery seed, typically a gaggle of randomized words, give you full control of your bitcoin and other cryptocurrencies. While setting up your hardware wallet, you’ll be prompted to write that list of words down as backup. But it must be stored securely, for example, in a safe. If you just keep it on your desk or store it on a computer file, you’ve compromised the security you get from a hardware wallet.
2. Lose your backup
Securely storing your private key may sound like an unnecessary hassle. Isn’t your hardware wallet enough? Well, in theory it is, but it can be misplaced, stolen, or simply malfunction. You need to have a backup. And yes, you need to store it securely; see point number one.
3. Misplace your hardware wallet (especially with no PIN)
Losing your physical device is terrifying, but it’s not the end of the world. if you’ve set up a PIN to protect your coins. If it’s PIN-protected, someone that finds the device won’t easily access it. And if you’ve taken precautions and stored your backup safely, you can recover your coins. The recovery process on the Trezor is simple and consists of punching in those 12 words from your recovery seed. It will take a few minutes, given the Trezor has no keyboard, but fortunately, it’s probably not something you’ll be doing very often.
Is that it?
Well, pretty much. There’s nothing too glamorous about securing your crypto with a hardware wallet. It’s akin to storing gold and jewellery in a safe. Every now and then, you should connect your wallet to your computer and run the accompanying software to see if the device requires some important updates. But if you don’t plan to send, receive, or use your crypto, you should mostly leave your hardware wallet be — until it’s needed.
